TECHNICAL
What we use
 Parts Information
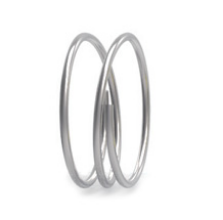
Spring
| Metalloid | Material | STS304 |
|---|---|---|
| Tension | Internal force (kgf/mm2) |
Over 21 |
| Tensile strength (kgf/mm2) |
Over 53 | |
| Elongation (%) |
Over 40 (57) | |
| Longitude | Rockwell hardness (HrB) |
Below 90 |
| Vicker’s hardness (Hv) |
Below 200 (166) |
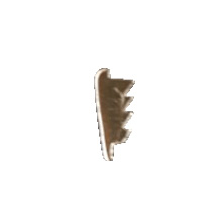
JAW
Jaws generates tensile force power grabbing the pipe.
| Metalloid | Material | STS420J2 |
|---|---|---|
| Tension | Internal force (kgf/mm2) |
Over 28 |
| Tensile strength (kgf/mm2) |
Over 55 | |
| Elongation (%) |
Over 18 | |
| Longitude | Rockwell hardness (HrB) |
Below 99 |
| Vicker’s hardness (Hv) |
Below 247 |
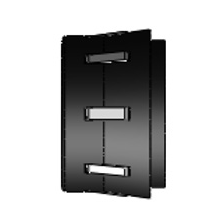
JAW HOLDER
| Resins | Material | POLYYAMIDE 66 |
|---|---|---|
| Tensile strength (kgf/mm2) |
20 | |
| Flexural modulus of elasticity (kgf/mm2) |
951 | |
| Impact strength (J/m) |
128 | |
| Tensile strength variation rate (%) | Heat resistance | 4% |
| Cold resistance | -2.9% | |
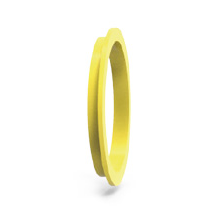
SPRING GUIDE
| Resins | Material | POLYPROPYLENE |
|---|---|---|
| Tensile strength (kgf/mm2) |
3.7 | |
| Flexural modulus of elasticity (kgf/mm2) |
167 | |
| Impact strength (J/m) |
31 | |
| Tensile strength variation rate (%) | Heat resistance | -5.8% |
| Cold resistance | 1.5% | |
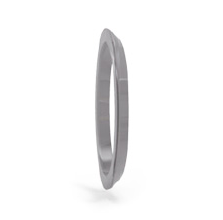
BACKUP RING
| Resins | Material | POLYPROPYLENE |
|---|---|---|
| Tensile strength (kgf/mm2) |
3.7 | |
| Flexural modulus of elasticity (kgf/mm2) |
167 | |
| Impact strength (J/m) |
31 | |
| Tensile strength variation rate (%) | Heat resistance | -5.8% |
| Cold resistance | 1.5% | |

O-ring
Two O-Rings prevent water leakage by double sealing.
| Material | EPDM |
|---|---|
| Tensile strength (MPa) |
16.1 |
| Available temperature (℃) |
-34 ~ 110 |
| Longitude (Hs) |
71 |
| Elongation | 200% |
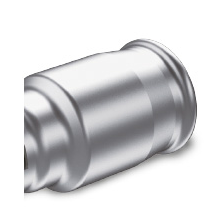
Main Body
The body is formed from pipes
| Metalloid | Material | STS304 |
|---|---|---|
| Tension | Internal force (kgf/mm2) |
Over 21 |
| Tensile strength (kgf/mm2) |
Over 53 | |
| Elongation (%) |
Over 40 (57) | |
| Longitude | Rockwell hardness (HrB) |
Below 90 |
| Vicker’s hardness (Hv) |
Below 200 (166) |
Installation Procedure
STEP 01
Pipe Cutting & Chamfering
- Make sure to use a “Rotary Cutter” or “Pipe cutter” exclusively for ez products.
- After cutting pipe, please make sure both ends of the pipe are chamfered to prevent any damage to the O-ring
- Don’t skip the chamfering.

- If you use a pipe without chamfering, the O-ring of the fitting will be damaged, causing a leak.
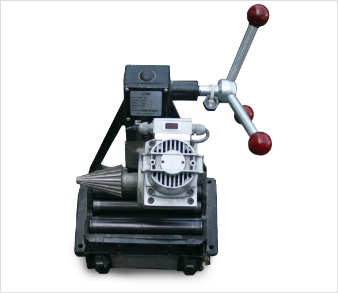
Rotary Cutter
- Rotary Cutter for
- You can rent it at the
retail store
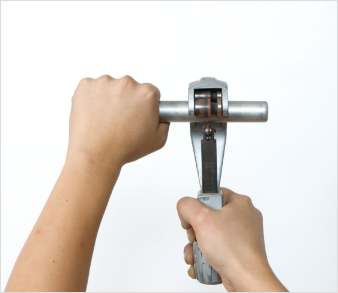
Pipe Cutter
- A hand Pipe Cutter
- It is used to cut pipes where no power is supplied.

ez Ruler
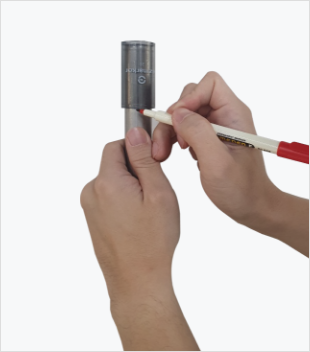
“ez Cap” type Ruler
STEP 02
Line Marking
- Use the ez marking tool (ez Ruler, ez Cap type ruler) to indicate the insertion depth on the pipe.
- To prevent leakage due to short insertion depth, make sure to do line marking before insertion

- Without “line marking”, it cannot be checked whether the pipe is properly inserted after the installation is completed.
STEP 02
Line Marking
- Use the ez marking tool (ez Ruler, ez Cap type ruler) to indicate the insertion depth on the pipe.
- To prevent leakage due to short insertion depth, make sure to do line marking before insertion

- Without “line marking”, it cannot be checked whether the pipe is properly inserted after the installation is completed.

ez Ruler

“ez Cap” type Ruler
STEP 03
Installation
- After remove the dust cap on the
, please check for any dust inside and remove the dust if any.
- Keep horizontal with the
and then insert it to the line mark
- If insertion is not smooth, apply either vegetable detergent or “ez lubricant“ to the pipe before inserting
- Please contact ez Joint retail store for ‘EZ lubricant’
- ‘Short-pipe insert’, which is not inserted until ‘line marking’, may cause leakage
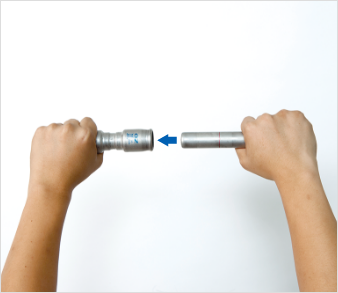
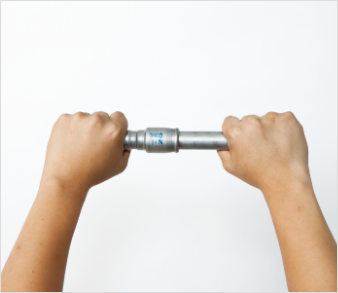

STEP 04
Installation Complete

- Make sure the pipe is completely inserted up to the “line marking”
- Be careful not to insert the pipe obliquely
How to Remove

STEP 01
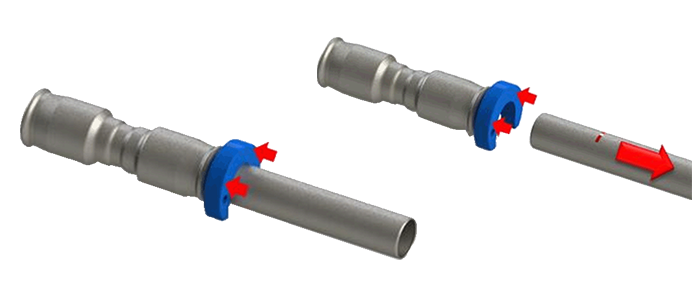
Insert the ez Clip
EPlace the ez-Clip on the pipe and insert the ez-Clip blade so that the Jaw-holder can be pressed.
STEP 02
Remove the pipe
EPress the ez Clip to remove the pipe
